SOLIDWORKS PDM
SOLIDWORKS PDM Solution for Critical Data Management from EGS India – Reseller of SOLIDWORKS in Chennai, Coimbatore, India


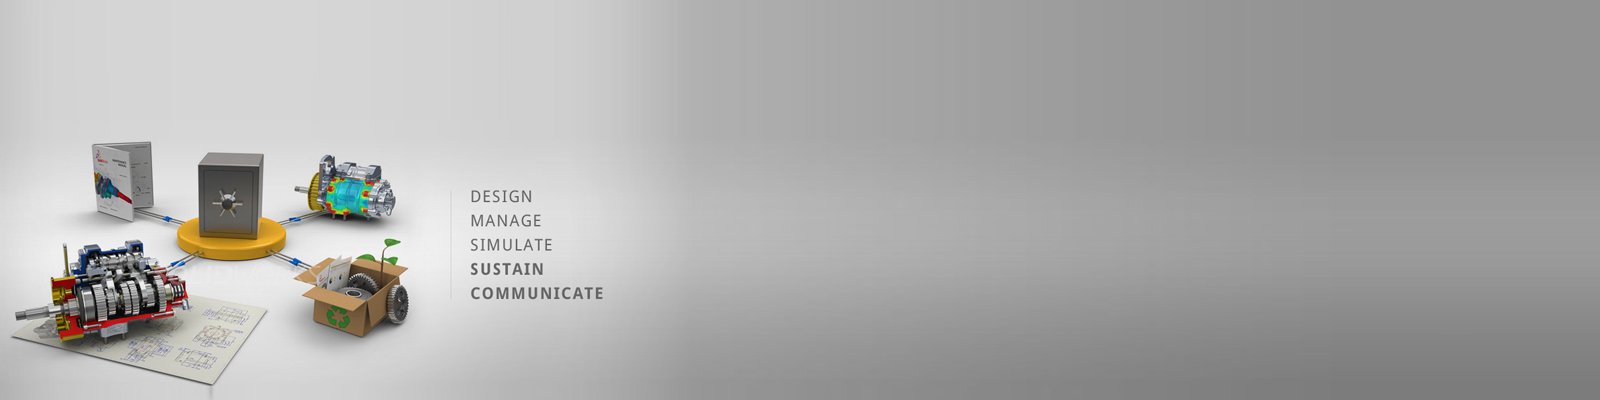
Engineering Design data created by users in Organizations have knowledge embedded in the data created. Storing, locating, re-using and updating of Engineering Data is important to ensure that the organization benefits from the knowledge created and updated.
SOLIDWORKS PDM addresses the critical requirements of Collaborative Engineering, Engineering Change Management and Product Knowledge Re-use.
Easy to implement and use, SOLIDWORKS PDM is the only product data management solution (PDM solution) entirely integrated within Windows Explorer. Users perform all functions either through Windows Explorer or one of its CAD integrations. Through this PDM software functionality, users across the enterprise can readily manage files and collaborate more effectively throughout the product lifecycle.
SOLIDWORKS PDM Summary
- Easy to implement and use
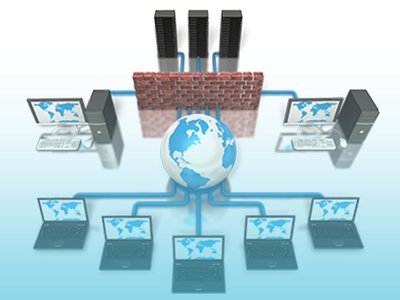
- Provides scalable, secure access for large design teams
- Enables companies to manage data at multiple locations with automatic file replication at each site
- Automates simple workflow including ECN/ECO processes
- Enables connectivity to MRP/ERP systems
- Full audit trails enable regulatory compliance
SOLIDWORKS PDM Data Management Features & Benefits
- Shortest Learning Curve
- SOLIDWORKS Integration
- Windows Integration
- Secure Access
- Full Document Preview
- Find and Re-use Design Data
- Template Manager
- Distributed Design
- Automated Approval Process Workflow
- Audit Trail
- ERP / MRP Connectivity
Why EGS India for your PDM Requirements?
- Trusted Specialists in Data Management
- Certified Enterprise PDM Professional for implementing PDM across the Enterprise
- Knowledge of Work flow and Engineering Data Management
Contact info@egs.co.in for Information on SOLIDWORKS PDM for your Critical Data Management
General FAQ for SOLIDWORKS PDM
EVER NOTICED YOUR PDM FOLDERS DISPLAY AS A BLUE COLOR?
STEPS TO WORK OFFLINE
2.Switch to Work Off-line mode from Tools Menu and disconnect from the network.
3.Access locally cached files while working off-line.
4.Connect to the network and switch to Work On-line mode via Tools Menu.
Check in files which were changed.
UNDO FILE CHECK OUT IN SOLIDWORKS PDM
HOW TO ADD LOCAL FILES TO THE VAULT
HOW TO PERFORM PASTE AS REFERENCE?
2.Select the Parent File and check-out.
3.Right Click the parent file and select Paste as Reference.
4.Check-In the Parent File and select Contains Tab to view the manual reference created.
HOW TO RECOVER DELETED FILES FROM RECYCLE BIN?
2.If you mistakenly delete a file, SOLIDWORKS PDM has your back and using the recycle bin we can recover a deleted file.
3.To restore a deleted file, requires the folder permission: Recover files from recycle bin
4.The SOLIDWORKS PDM recycle bin can be accessed via the folder properties
5.Select the Deleted Items tab and enable the Include items in sub-folders checkbox
Right the File and click on Recover.
6.Go to the respective Folder Location to see the File restored\recovered
HOW TO MANUALLY REMOVE A VAULT VIEW?
2.Navigate to HKEY_LOCAL_MACHINE\SOFTWARE\SolidWorks\Applications\PDMWorks Enterprise\Databases[VAULT_NAME]
3.Right click the folder with the Vault Name and click export.
4.Enter a name for the Registry Backup and export it.
5.Now, Delete the following registry key folder for the respective vault view: HKEY_LOCAL_MACHINE\SOFTWARE\SolidWorks\Applications\PDMWorks Enterprise\Databases[VAULT_NAME]
6.Now, login into PDM Administration Tool and the respective vault as admin.
7.Right click the Vault name and choose ‘Create Local View’ option to create a fresh local view.
WHAT IS UPDATE VALUES TO FILES IN SOLIDWORKS PDM?
1.In the local vault view, check out the files to be updated.
2.Select the folder that contains the files to be updated.
3.From the Modify pull-down select Update > Values in File
4.Key Words can be entered to update only specific files. You can also choose to update files in sub-folders
5.Select in which work flow states the files to update should be in. means files that have not yet been checked in.
6.Deselect the files you do not want to update.
7.Select the variables that need to be updated.
8.Select which configurations of the files need to be updated.
9.Click on Finish to start the update.
10.Check-In all the checked out files and check for the values in the File Card.
WHY CLEAR YOUR LOCAL CACHE?
2.Remove a local copy at check in When a file is retrieved from the SOLIDWORKS Enterprise PDM file vault, a copy is placed in the working folder or local cache on the user’s local hard drive. The user should manage the cache accordingly and remove files from the local cache accordingly and remove files from the local cache area when they are no longer required.
3.Two of the methods for removing files from local cache are:
a.Clear Local Cache Command
Tools -> Clear Local Cache.
4.Clear Local Cache Command
From the navigation pane, right click a folder and select Clear Local Cache.
Tools -> Clear Local Cache
From the File view, select a folder and select Tools->Clear Local Cache.
WHAT IS VERSION HISTORY AND REVISION HISTORY?
2.Both are important but they work in fundamentally different ways.
3.A new version of a document is added to its Version History every time the document is checked out, changed, and checked back in.
4.A ‘Revision’ is an instance of a document that has been released through the appropriate decision making process in your company.
5.Version History and Revision History work together to create a complete record of all changes made to a document – both changes to the document’s content and its meta data.
6.While Version History is maintained automatically by SOLIDWORKS PDM, Revision History is created by moving the file through the work flow according to review and approval process.
Comments are closed.