SOLIDWORKS SNL License Installation Guide
Pre-requisites for Download:
- Active 3DEXPERIENCE login ID
- High Speed Internet
SOLIDWORKS Installation Manager Downloading Guide:
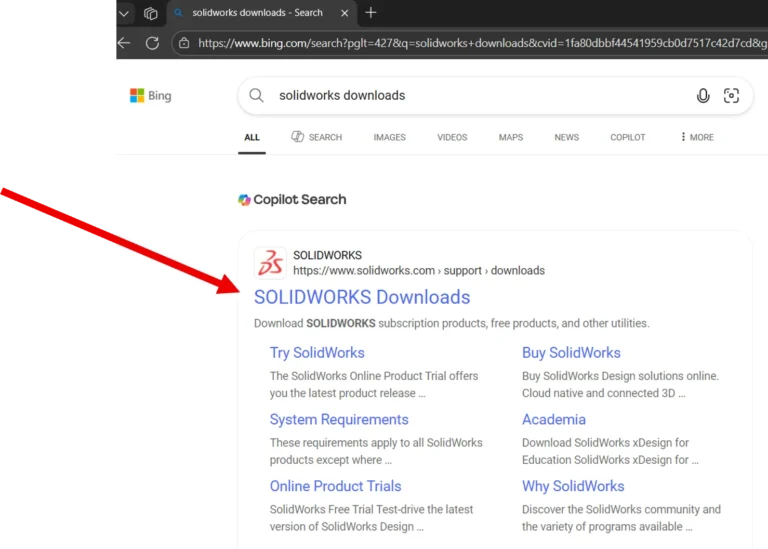
- To download SOLIDWORKS, first search ” SOLIDWORKS download ” in your browser.
2. Click on ” SOLIDWORKS Downloads ” link to open the website.
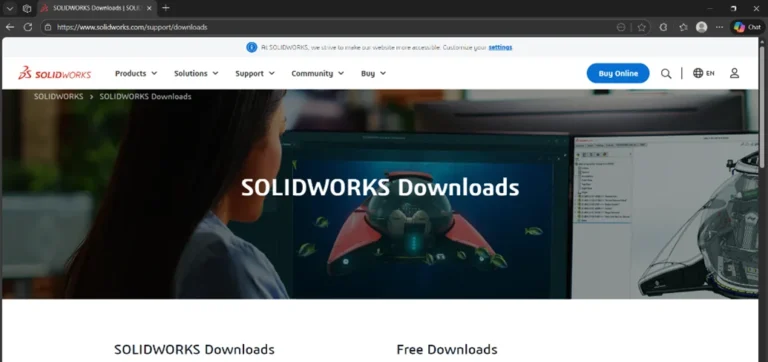
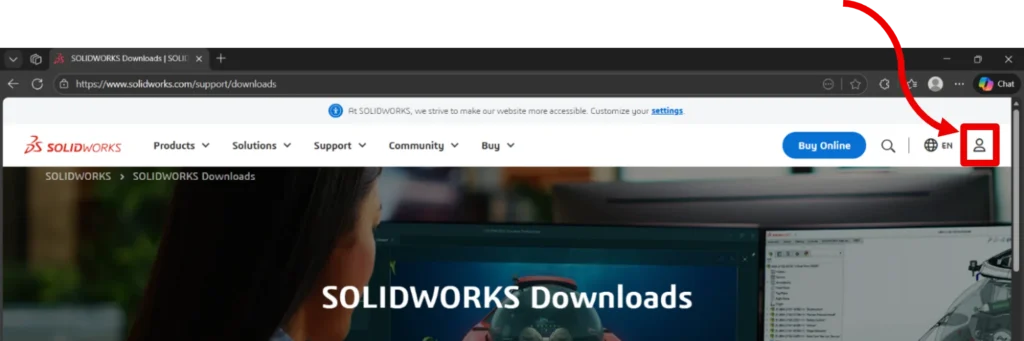
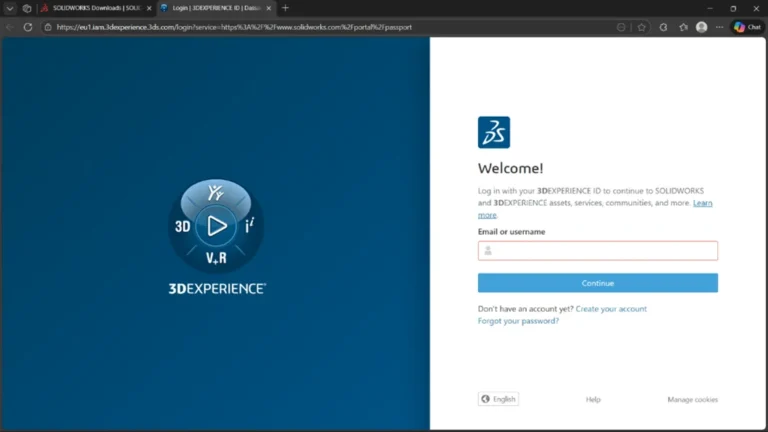
3. You are taken to the Downloads page. Click on the icon to Login with your 3DEXPEREINCE Id
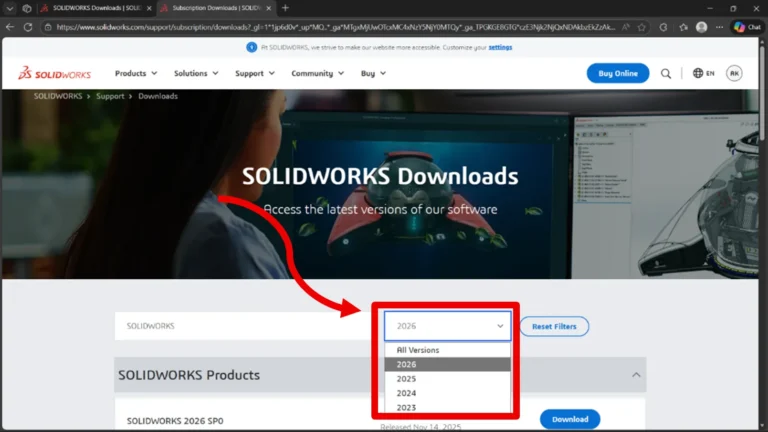
4. After logging in, select the Required Version from the drop down present.
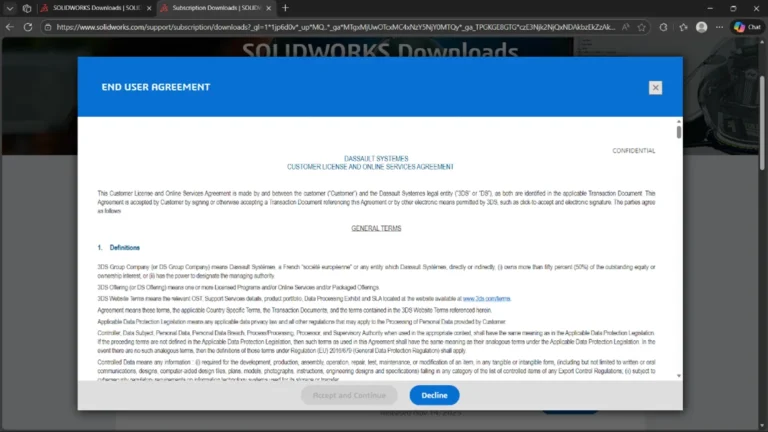
5. Make sure the product name is “SOLIDWORKS 20** SP*”. Click on the “Download” button next to the SOLIDWORKS product to be installed, and a Terms & Conditions dialogue box appears.
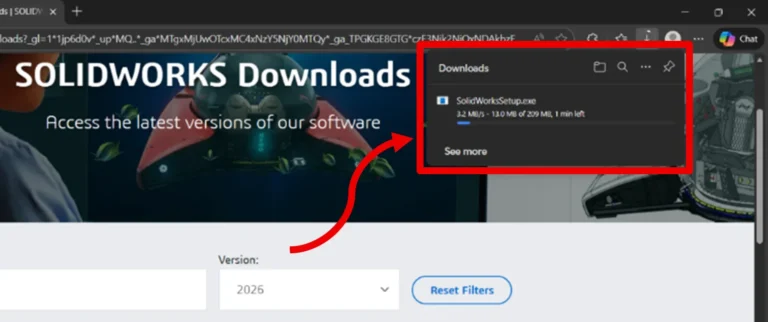
6. Scroll down on the End User Agreement and agree to start the download.
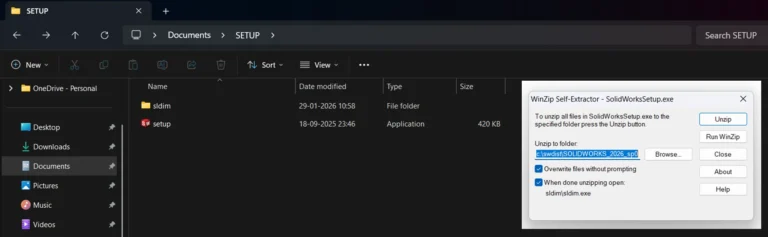
7. Unzip the downloaded files to extract the installation manager
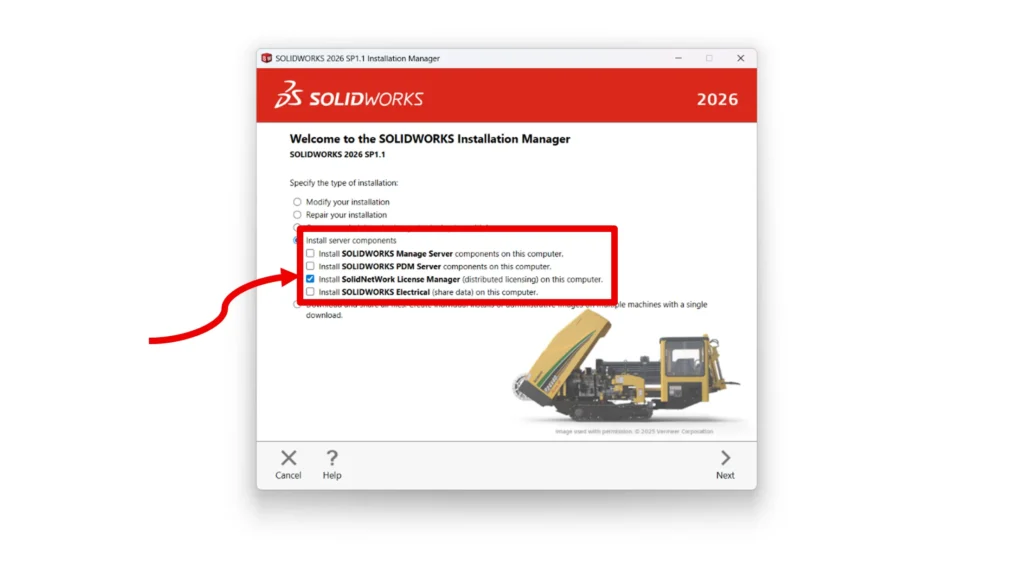
8. Right click on “Setup.exe “and run as administrator. The installation manager opens, select “Install Server Components “and select SolidNetWork License Manager option to install the required Setup files.
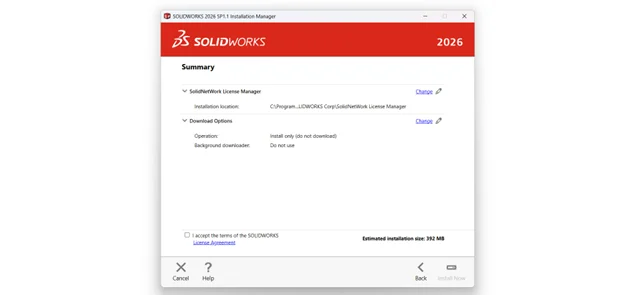
9. On clicking next, you are brought to the summary where we ensure that the installation location is default.
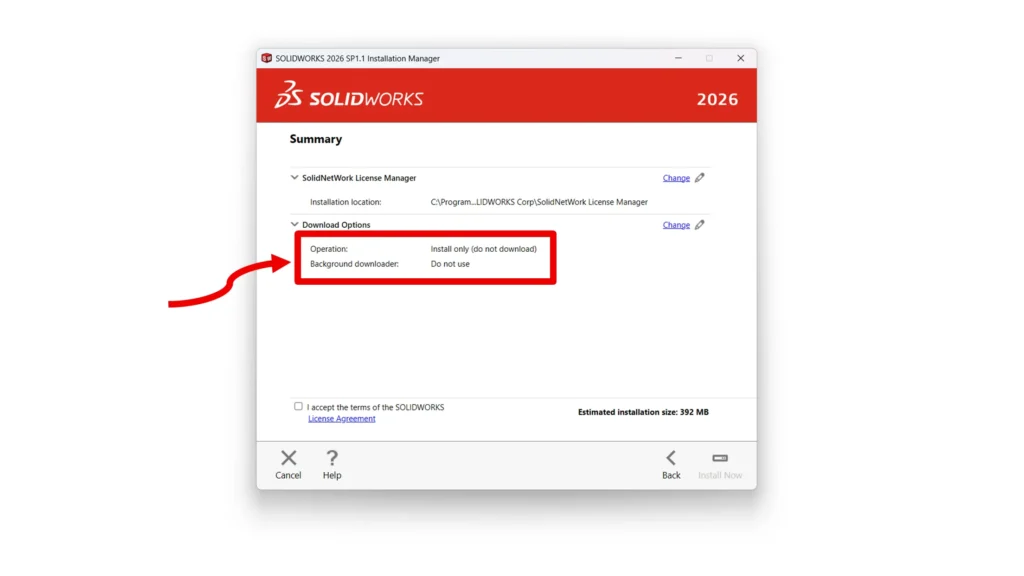
10. Click change next to Download Options to make sure that the background downloader is not in use.
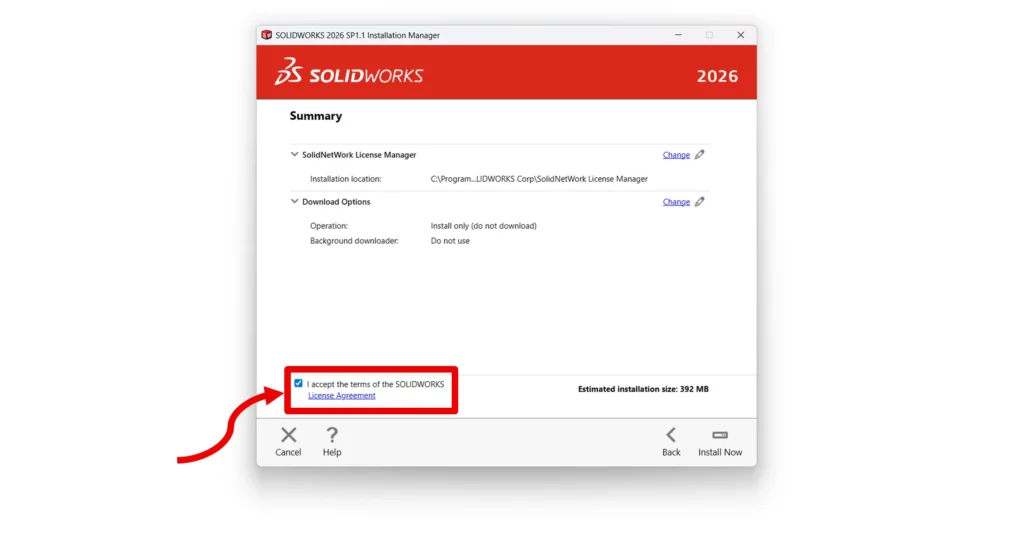
11. Agree to the terms and Conditions to start the download/Installation.
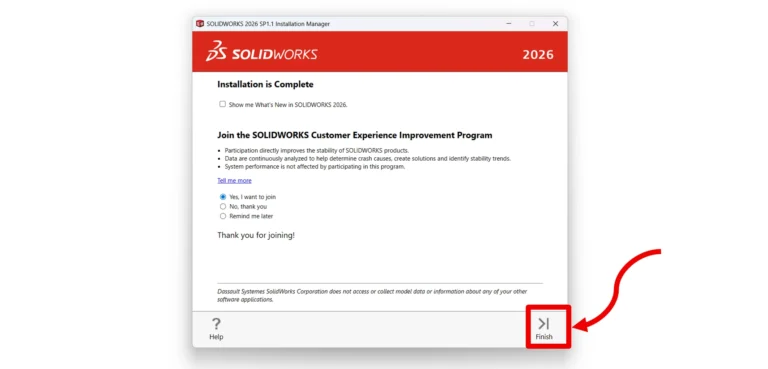
12. Once Completed, you land in the completed page where you can click finish to complete the installation.
Activating the Network License Key
- Search for SolidNetWork License Manager Server 2026 in the windows search. Run the license manager server as administrator.
2. You are then prompted to activate the server license. Click yes to continue
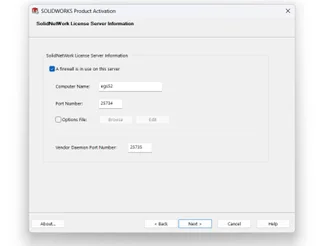
3. You are now brought to the Server setup, where you are prompted to enter the computer name, with Port numbers. Ensure that the default port number is 25734 and the “Vendor Daemon port number “is 25735.
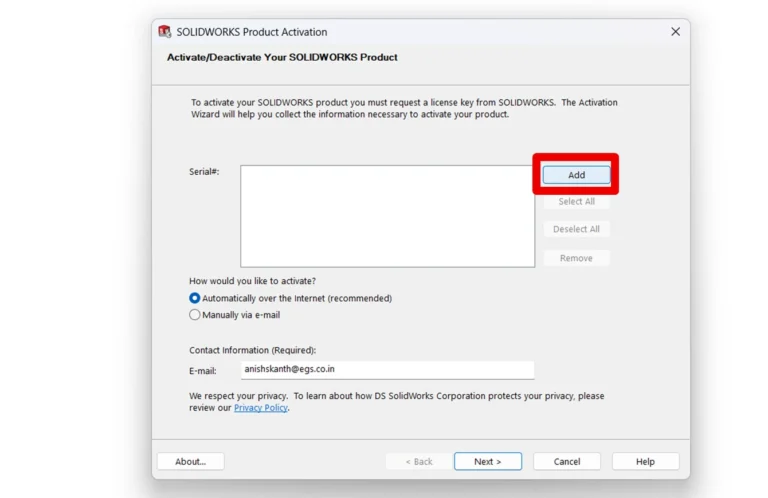
4. Click next, where a window to add your serial number is shown on the screen. Click Add to open a notepad to enter your serial key
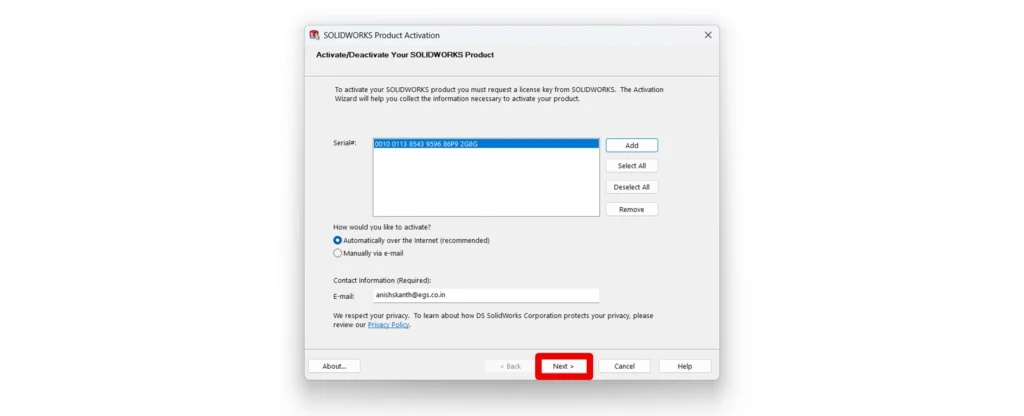
5. Enter the 24-digit Alpha-Numeric serial key and close the tab. For multiple serial keys, separate them as separate lines in the tab
6. Select all licenses, by clicking “Select All“, ensure that the method is automatically over the internet. Agree to the terms and conditions and click next.
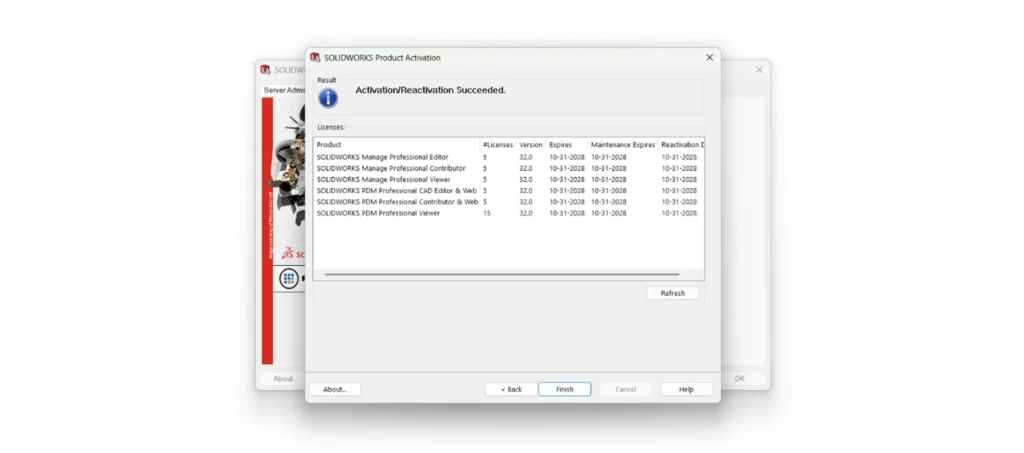
7. On successful activation, you are shown the licenses that have been activated with the respective expiry, maintenance and reactivation dates.
8. Click finish, and switch to the “License Usage Tab “to ensure that the licenses are now active in the desired Server PC.