Silent Deployment in 3DEXPERIENCE: A Complete Administrator Guide
Administrator Guide
In most companies, IT policies control how software is installed on employees’ computers. Employees usually do not have permission to install software by themselves. Instead, the IT team installs and manages all applications remotely to ensure security and proper configuration.
This blog explains a method that IT teams can use to install multiple 3DEXPERIENCE desktop applications across computers in a company network (domain). The same method can be used for installing any level or type of 3DEXPERIENCE desktop apps.
Lets’ Start the installation Procedure
1. Download the full setup file from the platform
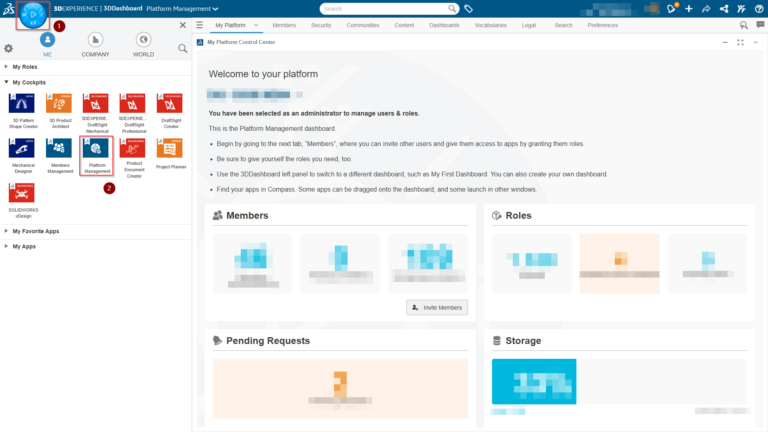
Login your 3DEXPERIENCE Admin account
- Click Compass to access the dashboard.
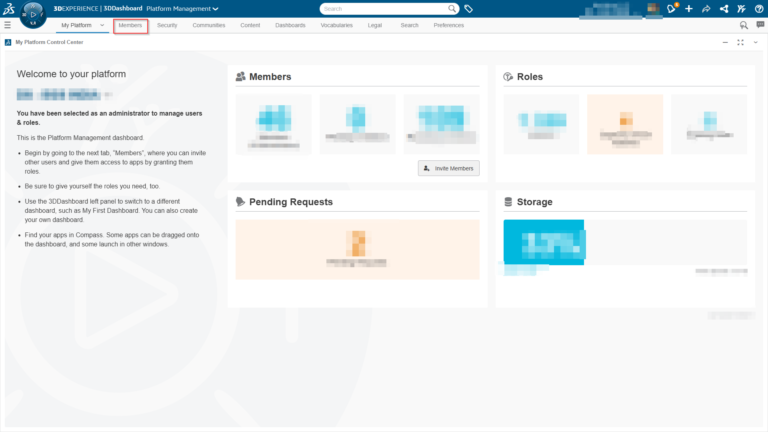
- And click the Platform management dashboard
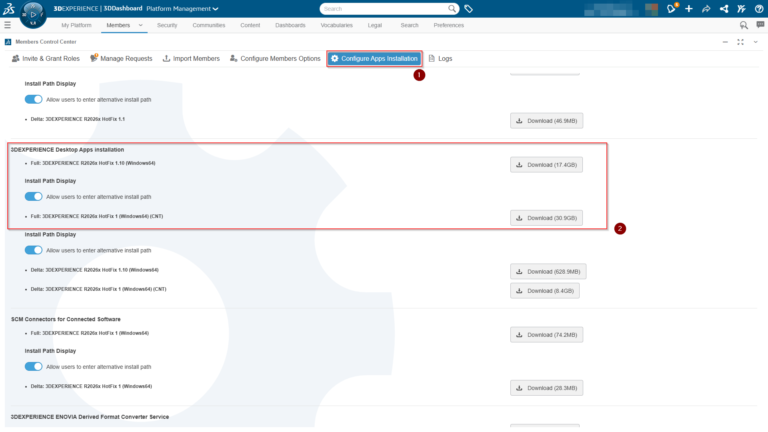
- Click Configure Apps Installation tab in Members control center.
- Here you can download Full: 3DEXPERIENCE installation files to your local drive.
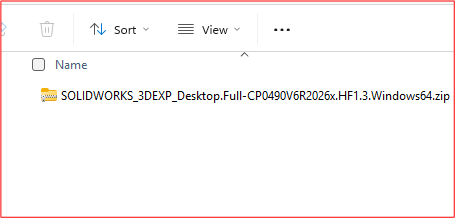
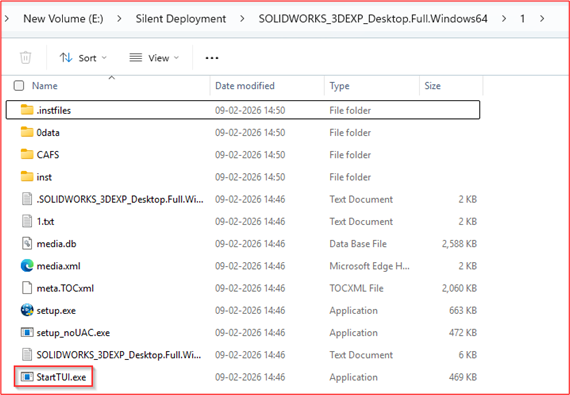
2. Extract the downloaded file
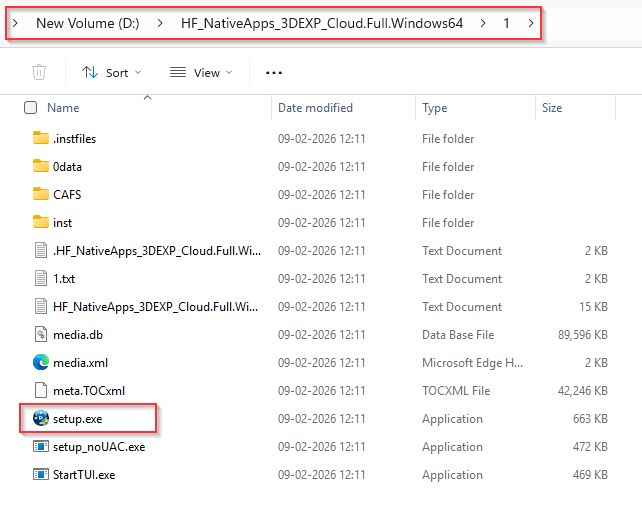
Extract the downloaded file, then open the folder named “1”. Inside this folder, you will find the setup file required for installation.
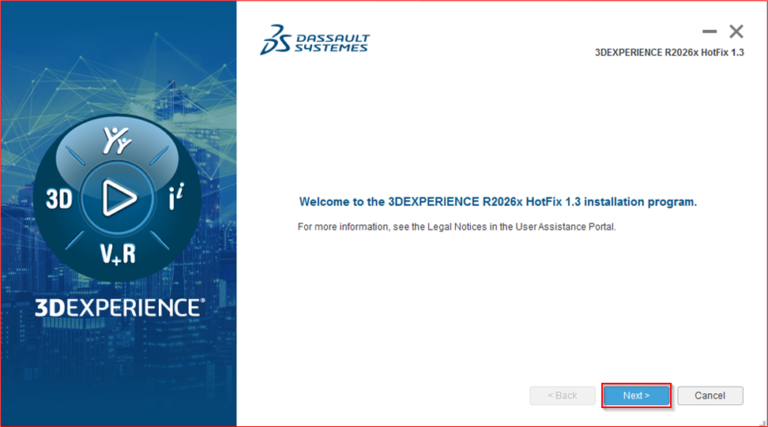
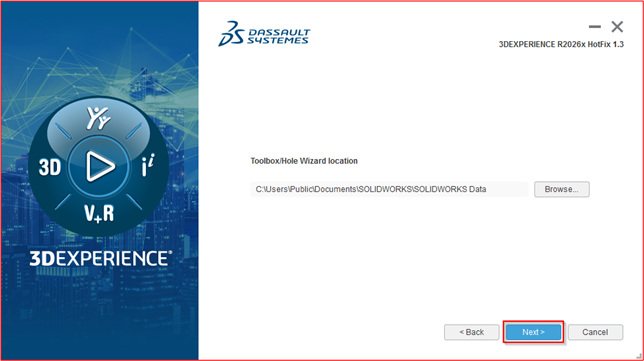
3. Run setup.exe as an administrator
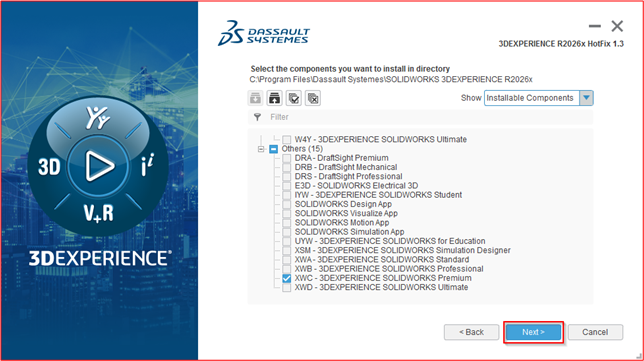
Select the SOLIDWORKS Package want to install
After completing the installation on the first system, you can begin the silent deployment process. Follow the step-by-step instructions provided below using the detailed information.
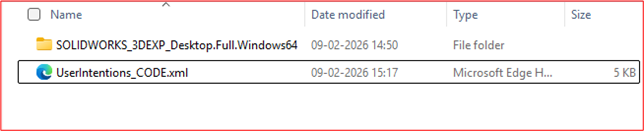
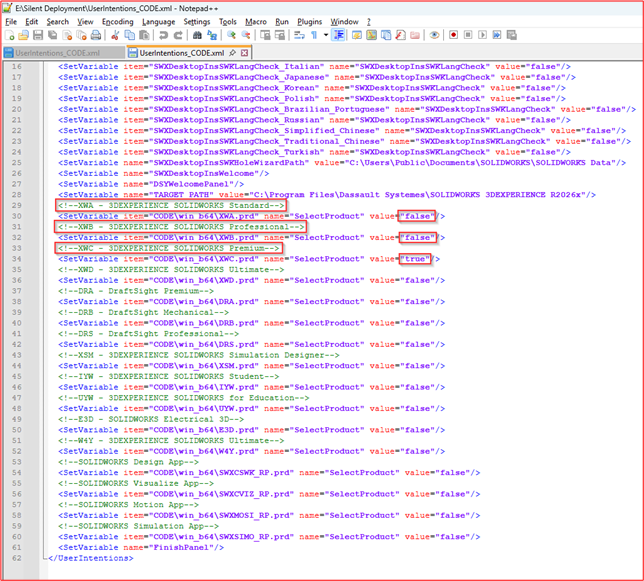
4. Locate User Intentions_CODE file and copy it to the setup location
Step :1 Set UserIntentions_CODE
After the installation is completed on the first system, go to the following location:
C:\Program Files\Dassault Systemes\SOLIDWORKS 3DEXPERIENCE R2026x\InstallData
Inside the InstallData folder, a file named UserIntentions_CODE.xml will be created.
Copy that file and paste it to the downloaded full setup.
Like mentioned in this image.
Here, you can choose which packages and products you want to install.
Set true for the products you want to install, and set false for the products you do not want to install.
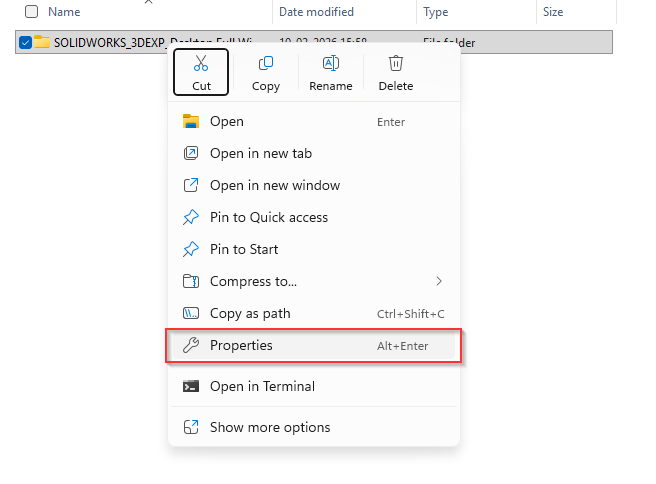
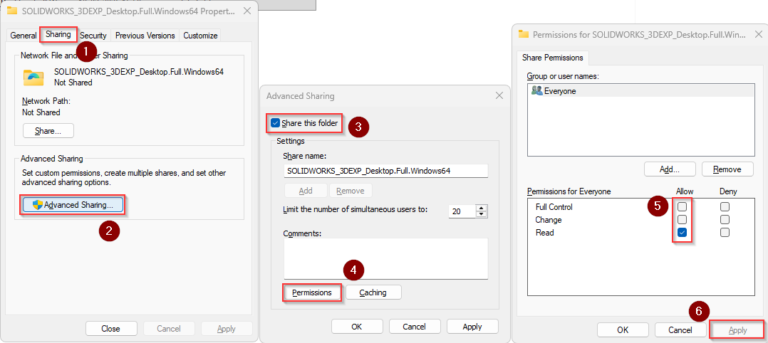
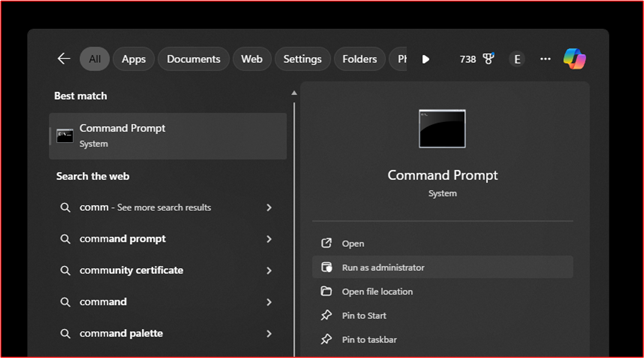
5. Make folder accessible from the client systems
Make sure the installation folder is accessible from the client systems.
You can copy this folder to a common shared location, or set the folder as a shared folder so that other client systems can access it.Please refer to the image to complete this step.
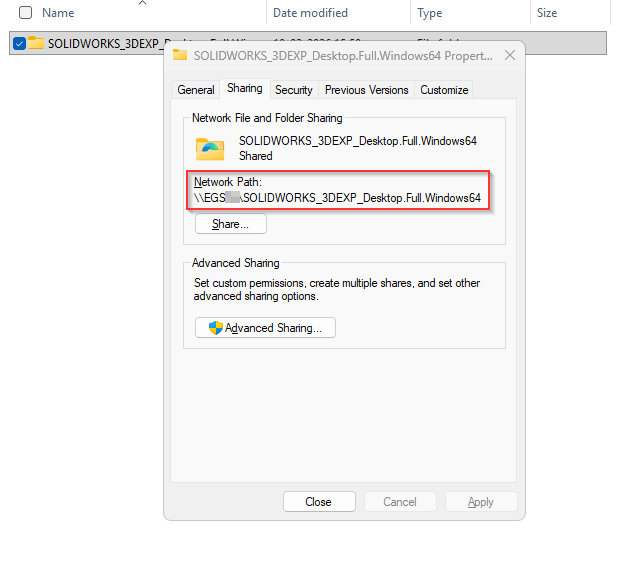
Once Advance sharing is enabled you can find your network path
Now go to the client system and open the Command Prompt.
Run the required command in the Command Prompt to start the process.
Enter the network path of StartTUI.exe in the Command Prompt.
Example:
\\EGS\SOLIDWORKS_3DEXP_Desktop.Full.Windows64\1\StartTUI.exe –silent
Add the –silent option to run the installation without user interaction.
Next, add the network path of the UserIntentions_CODE.xml file.
Example:
\\EGS\SOLIDWORKS_3DEXP_Desktop.Full.Windows64\UserIntentions_CODE.xml
Finally, combine both paths into a single command.
Final example command:
\\EGS\SOLIDWORKS_3DEXP_Desktop.Full.Windows66\1\StartTUI.exe–silent\\EGS56\SOLIDWORKS_3DEXP_Desktop.Full.Windows66\UserIntentions_CODE.xml
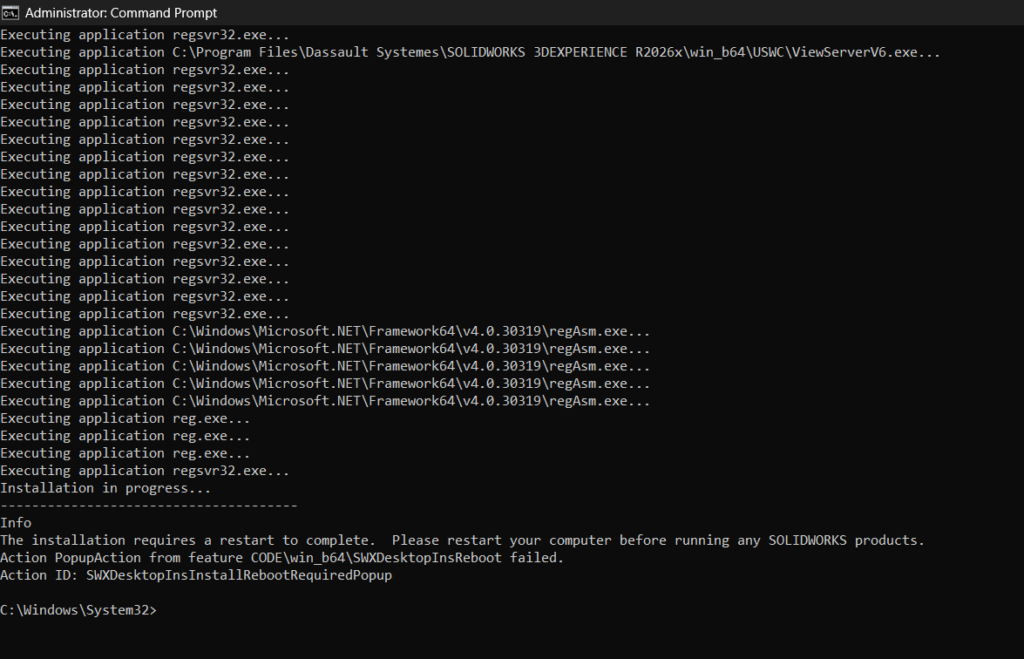
6. Start installation from client system
Open Client machine run the command prompt as an administrator
Run the prompt to proceed installation
Then, the installation will be completed through the Command Prompt.
After the installation finishes, restart your computer and launch SOLIDWORKS Design as usual.