Introduction
The SOLIDWORKS Administrative Image is a centralized deployment tool that enables organizations to install, configure, and manage SOLIDWORKS across multiple client machines from a single location. Instead of performing individual installations on each system, administrators can create an administrative image that contains all the necessary installation files, settings, and configurations.
Choose the “create an administrative image to deploy to multiple computers”
Select Create a New Image using default Settings and click Next. In this case, I will choose a new image.

The next step is to enter your SOLIDWORKS product serial number to validate the license and proceed with the installation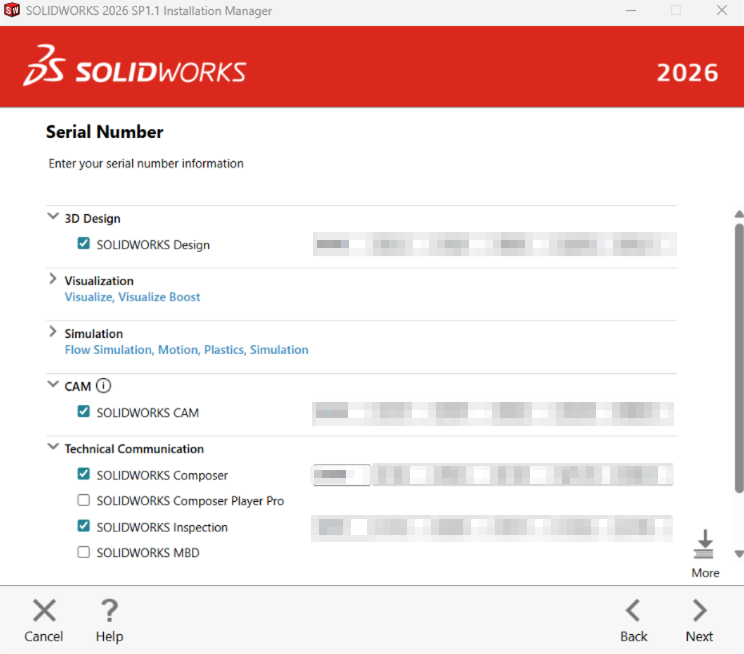
Once all product keys are entered, the license information connects to SOLIDWORKS to validate and retrieve the associated products and features.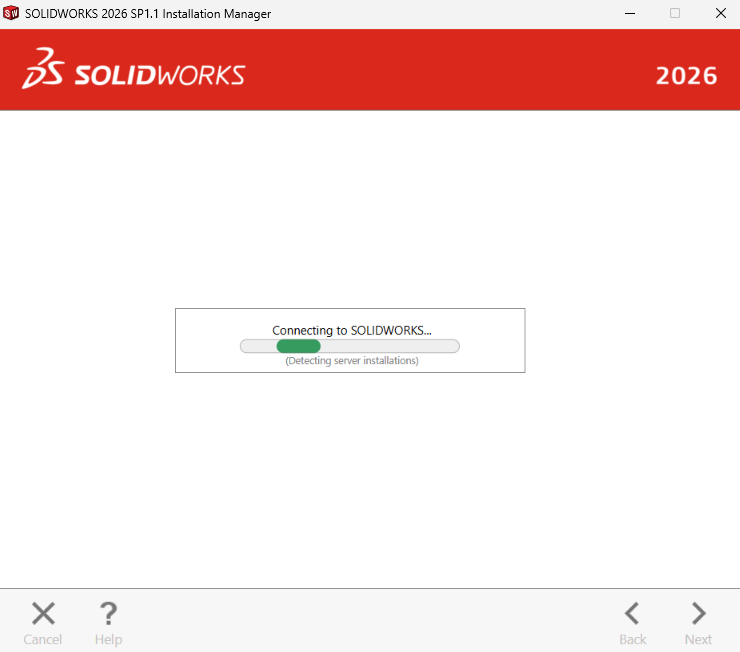
Based on your available serial key, choose the product in product selection as shown in below.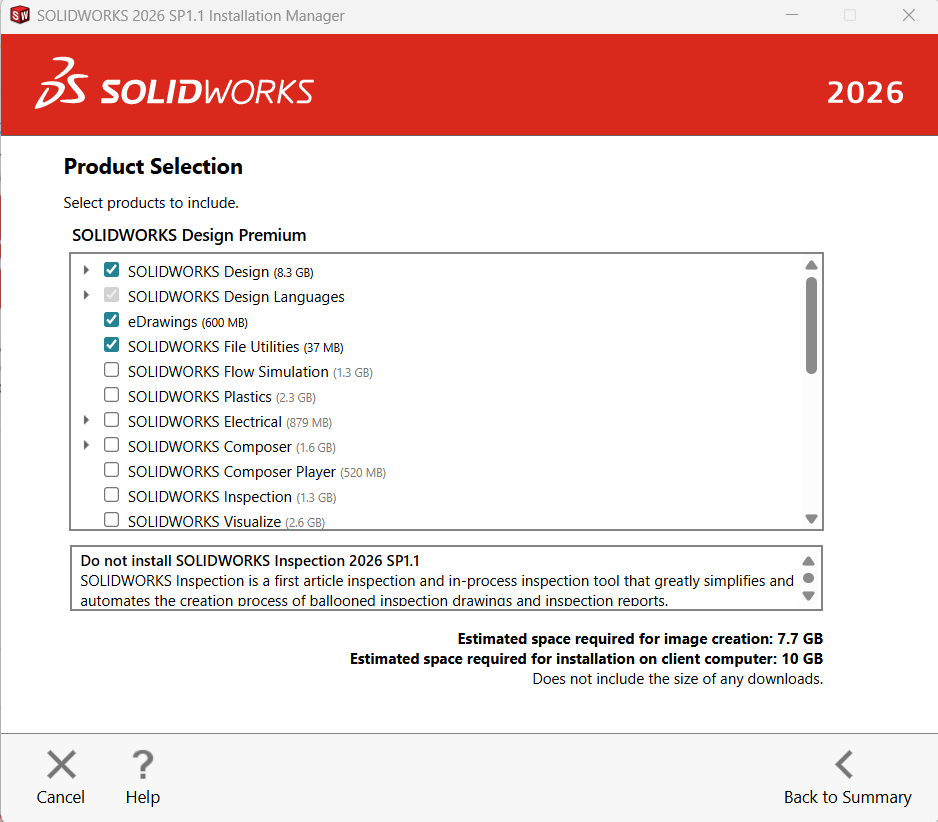
Define the Administrative Image Location, specify the location where the Admin Image will be saved.
By default, the image is stored in C:\SOLIDWORKS Admin\SOLIDWORKS 20XX SPX.
To select a different location, click Change and browse to your preferred folder.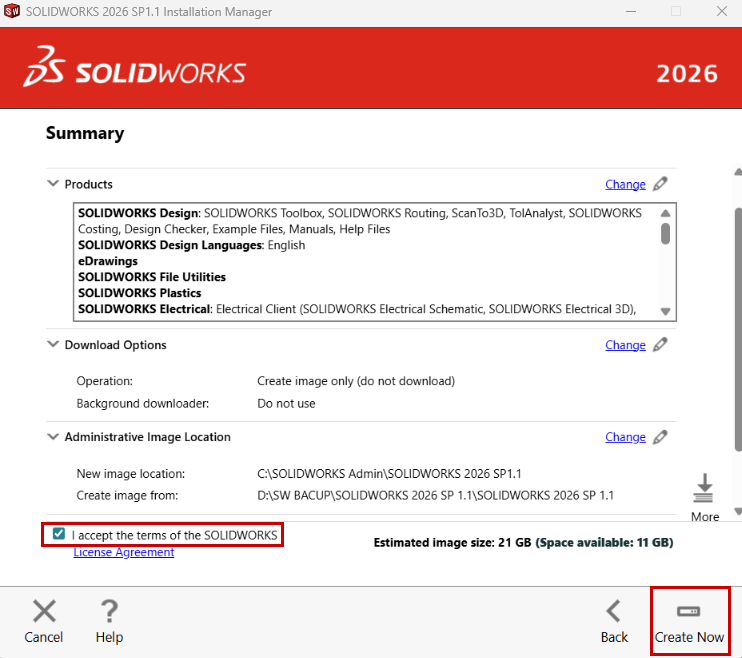
There are three types of deploy the SolidWorks Installation as shown in below image.
After selecting “Standard Administrative Image”, Click Next to return to the previous window.
All the required options have been completed above. Click Create Now.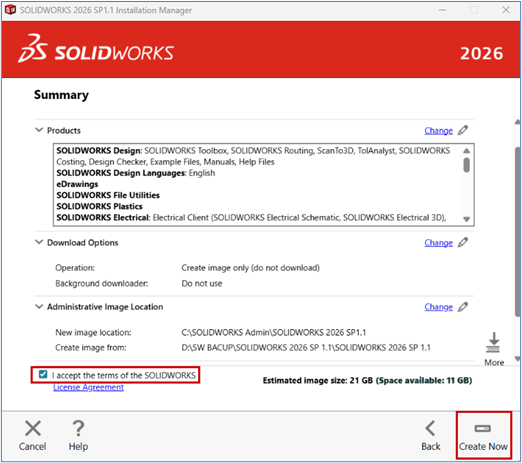
Select Customize Image to begin editing the Admin Image. Also, if you are new to creating an Admin Image, check the box for Show me how to install this image on a client.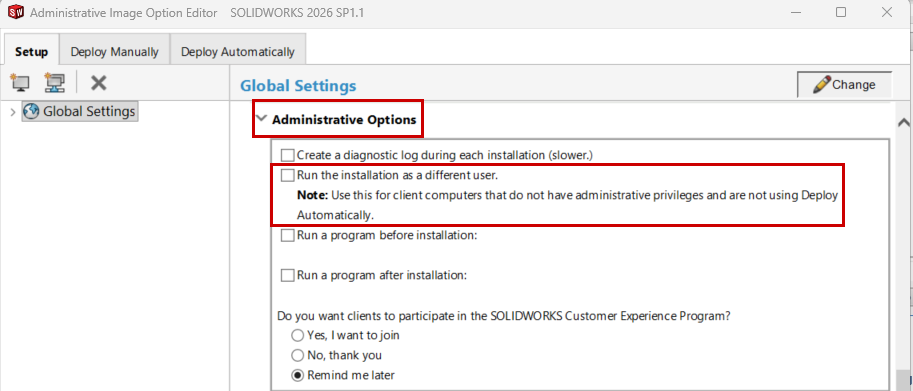
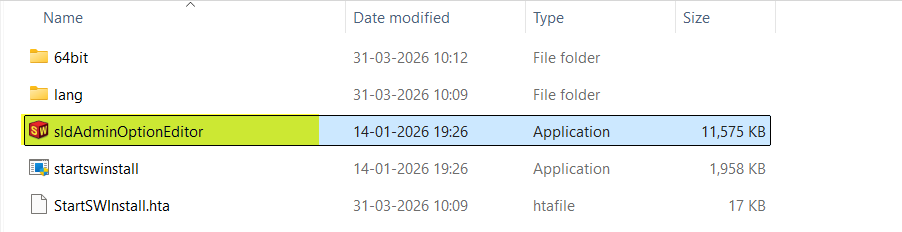
Right-click the sldAdminOptionEditor.Exe and Run as administrator
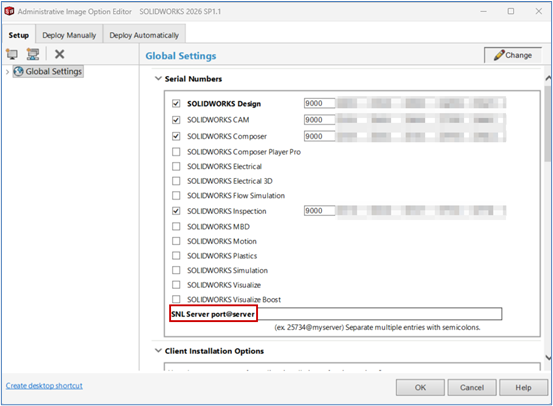
Administrative Image Editor Setup: -Global Settings
Once the editor is launched, the installation setup option is displayed. If you need to make any changes, click Change, the updates will be applied to all client installations.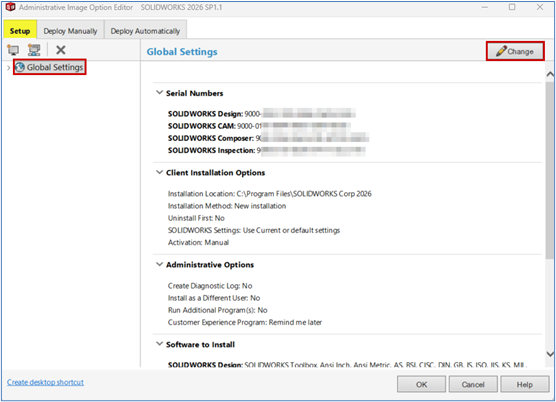
If using a SolidNetWork License (SNL) Manager Serial Number (typically starting with 9010 or 0010), you will be prompted to enter the server’s name where the SNL is installed and activated. 25734@servername
Client Installation Options:
Two options are available for installation:
- Upgrade an existing major version (apply a service pack upgrade)
Create a new major version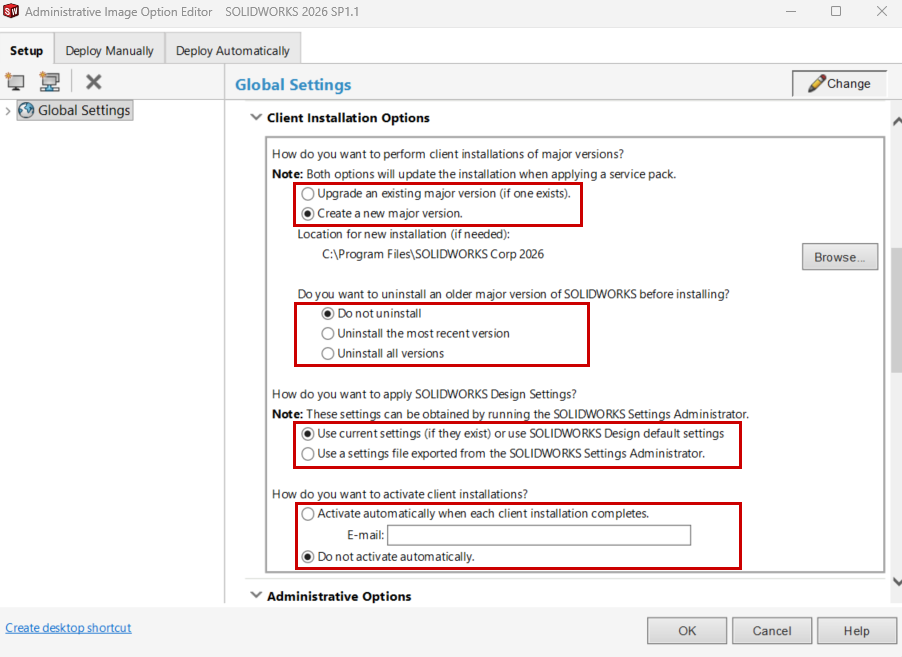
From the administrative image, administrators can centrally manage both the uninstallation and deployment processes for SOLIDWORKS across all client machines. This setup allows IT teams to efficiently remove existing installations, ensuring consistency and avoiding conflicts with older versions.
In addition, the administrative image enables the deployment of SOLIDWORKS settings in a controlled manner. Organizations can choose to apply standard default settings or distribute customized configurations tailored to specific user roles or project requirements. By doing so, all client machines maintain a consistent environment, reducing setup time, minimizing user errors, and improving overall productivity and system management.
Administrative Options:
- Form this option used to get diagnostic log report, whether the user machine have certified configuration and all other graphics drivers’ details will get from that log file.
- This option is most important to Run the installation as as different user Full admin permission controlled by administrator.

Create Group & adding machine for Installation:
In the top-left corner, you have the option to create Groups or add individual machines. Creating Groups allows you to manage multiple machines collectively by applying Admin Image settings that differ from the Global Settings.

Deployment:
There are two ways to deploy the installation.
- Manually
- Automatically
Select the Deploy Manually and click Send Email
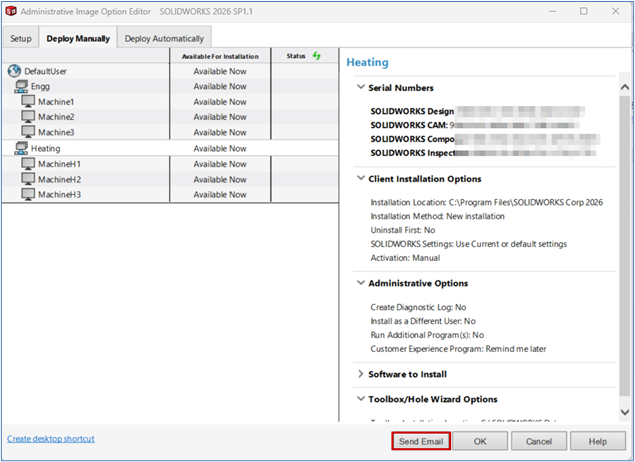
This will create an email that includes a link for users to begin the installation of their SOLIDWORKS Products.
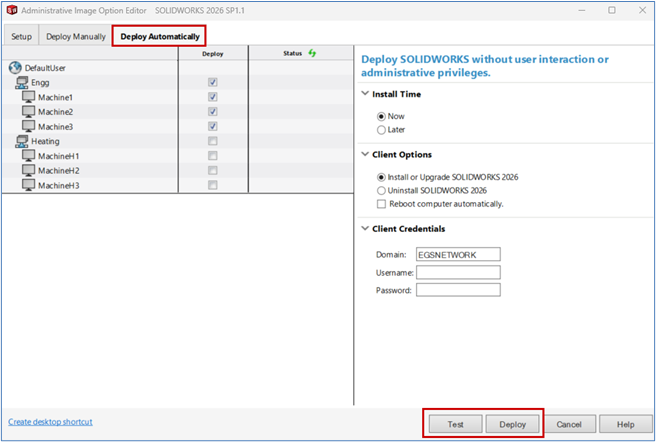
Automatically Deploy:
This option deploys the installation to client machines silently, without requiring any user interaction. However, it does require the appropriate permissions and configurations to be in place to ensure the installation completes successfully.
When using Deploy Automatically, you can select Groups and/or Machines to deploy. Choose to Deploy Now or Later and define a Time and Date and then enter Client Credentials for Admin rights.
First of all, Test the Deployment. If all is satisfactory, then select Deploy.
Author Details