The Dispatch add-in is provided by Dassault Systemes. During the installation of SOLIDWORKS PDM, the Dispatch add-in is included by default within the Default Data folder.
The installation location is: C:\Program Files\SOLIDWORKS PDM\Default Data
Navigate to the Dispatch location in the C drive. Select the add-in file and drag and drop it into the SOLIDWORKS PDM Administration tool.
Once completed, it will appear as shown in the image below.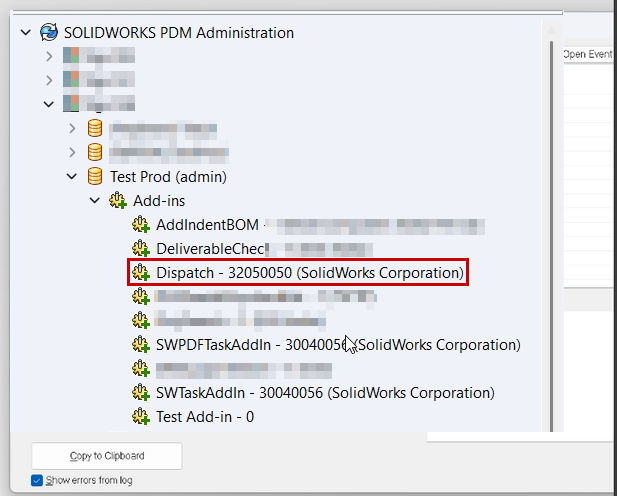
Right click the Dispatch add-in and select “Administrative Action”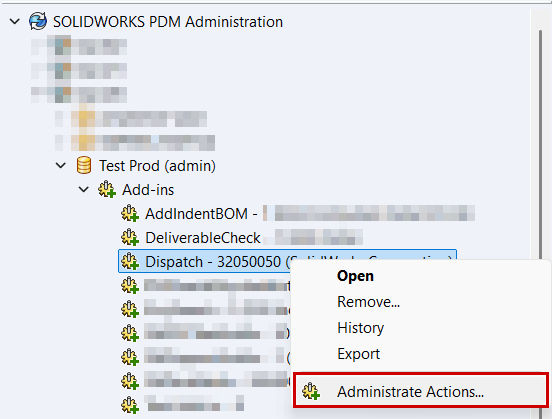
We can create new action to select the option “Add”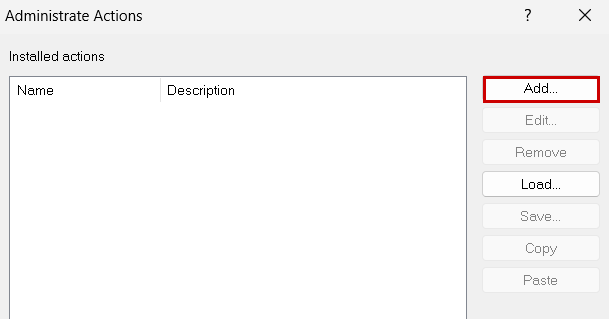
We need to mention the basic information about the action. The task we’re creating here is going to replace or update the variable in a selected file. Under activation, we define how to run this action.
I have selected the menu command option for this action. The user or administrator can trigger this command manually. The remaining options are configured to execute the action automatically, such as during a state change, file check-out, or when adding a file to the vault.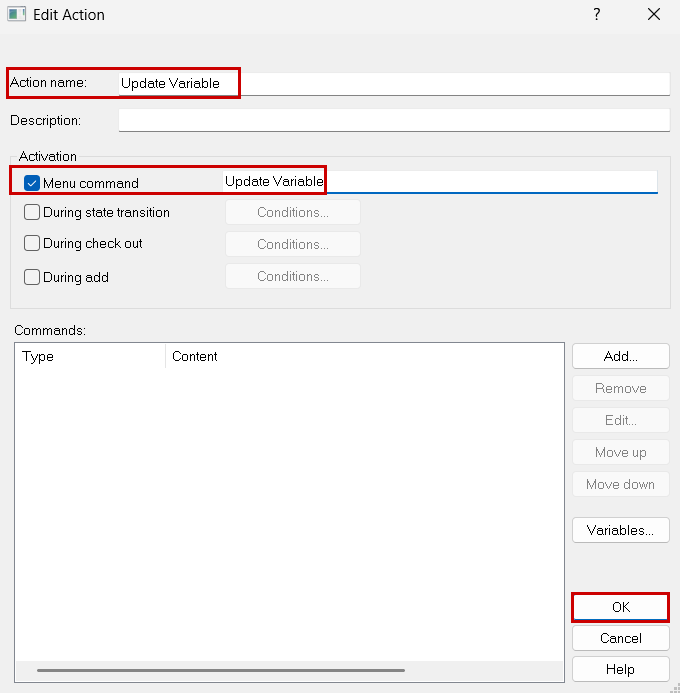
This action will execute based on specific conditions. The list of action commands is provided below.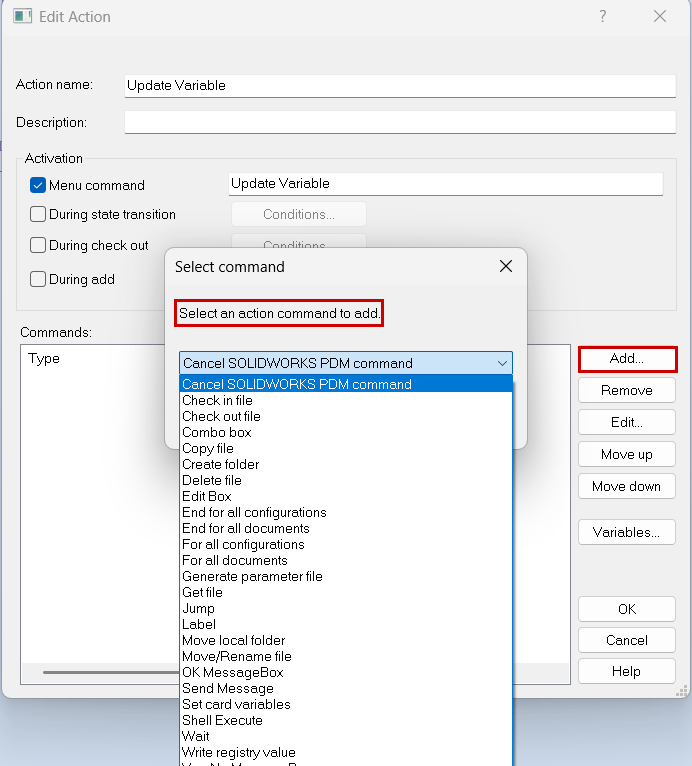
When creating any action within the Dispatch add-in, you must specify the start and end condition commands. These commands are shown in the image below.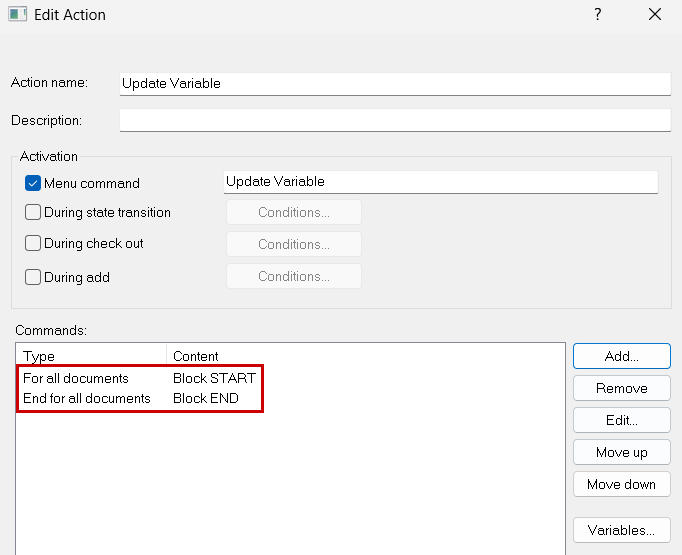
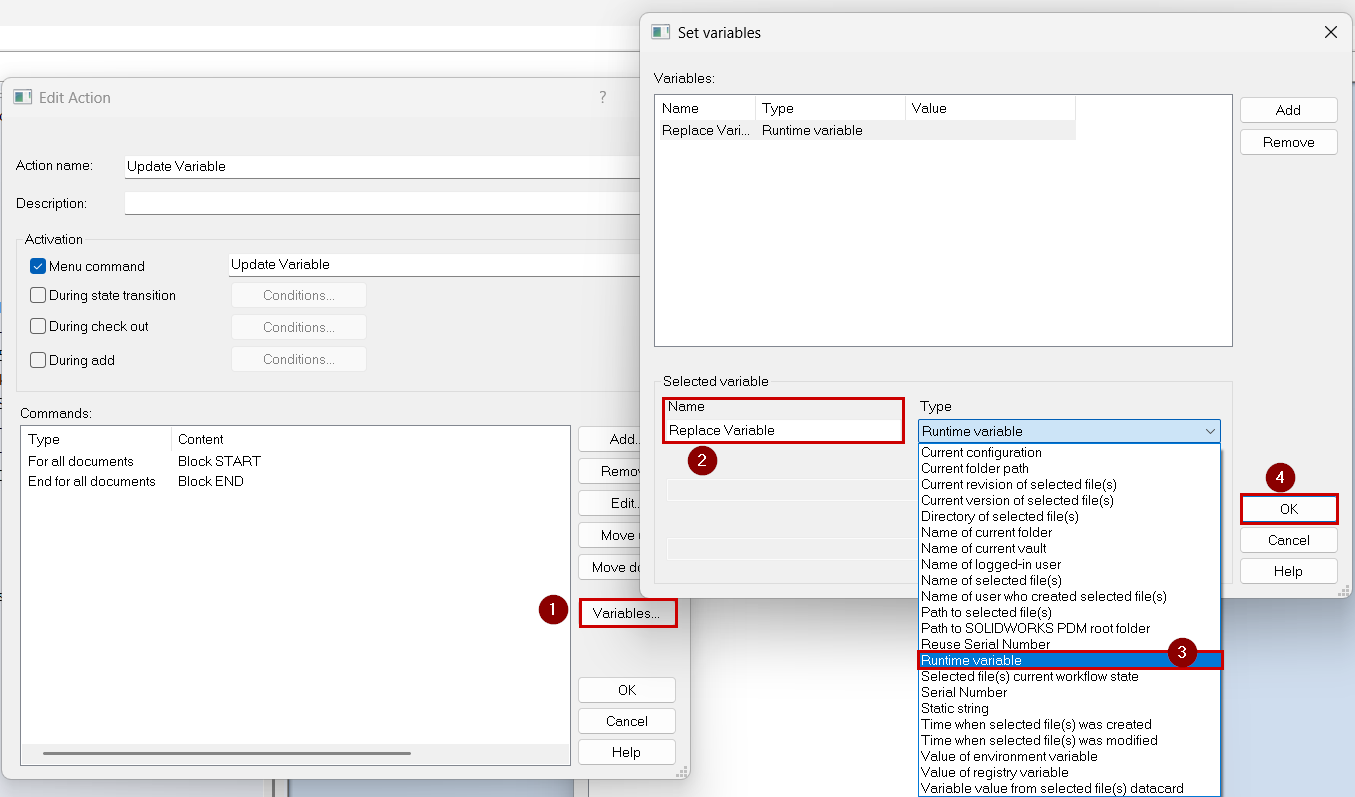
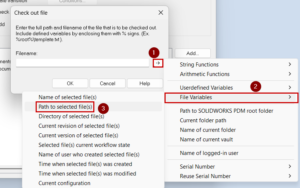
Next, set the variables as shown in the steps in the image below:
- Click Variables.
- Enter the variable name.
- Select the variable type from the dropdown. In this case, choose Runtime Variable and then click OK.
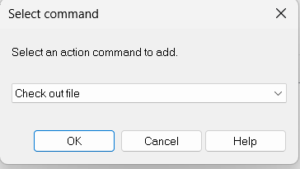
This action runs during both the check-out and check-in processes, as configured. We need to include the corresponding check-out and check-in actions within this task. The same procedure is followed for handling files during check-in.
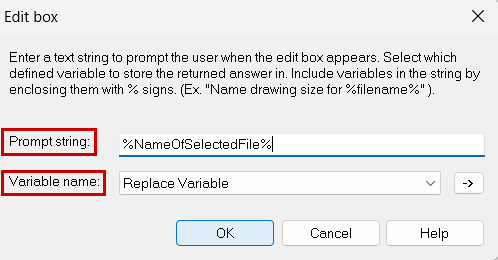
Next, add a new action command “Edit Box.” Enter the string value as shown in the image below and map it to the variable you previously declared in Runtime Variables. Use the dropdown to select the appropriate variable you created earlier.
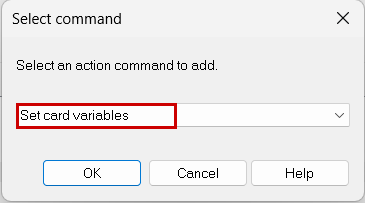
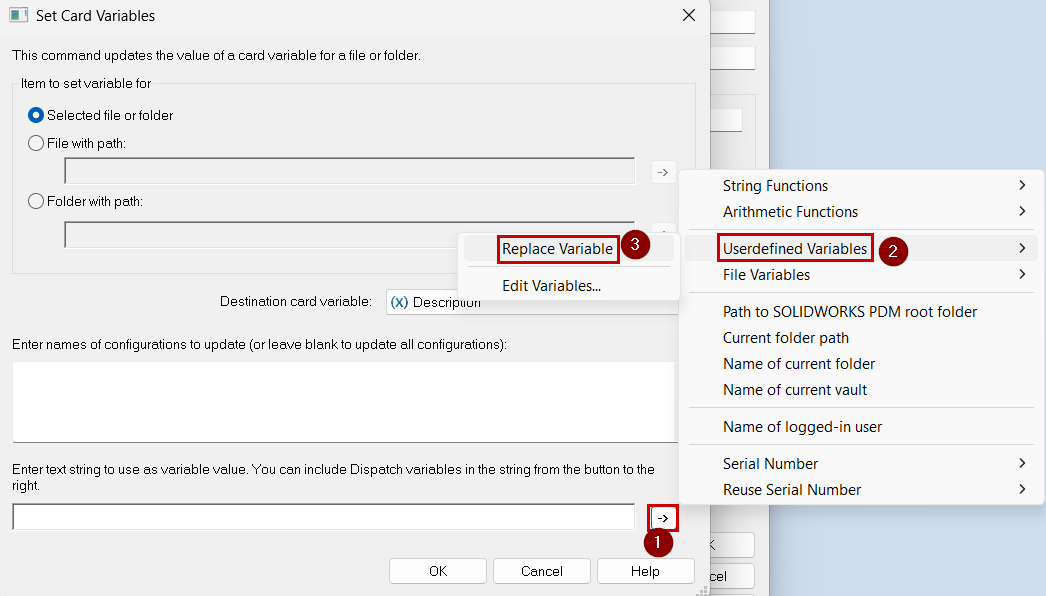
Next, add a new action command “Set Card Variables.” As shown on the right side of the image, select the appropriate card variable. This determines which existing card variable will be replaced or updated.
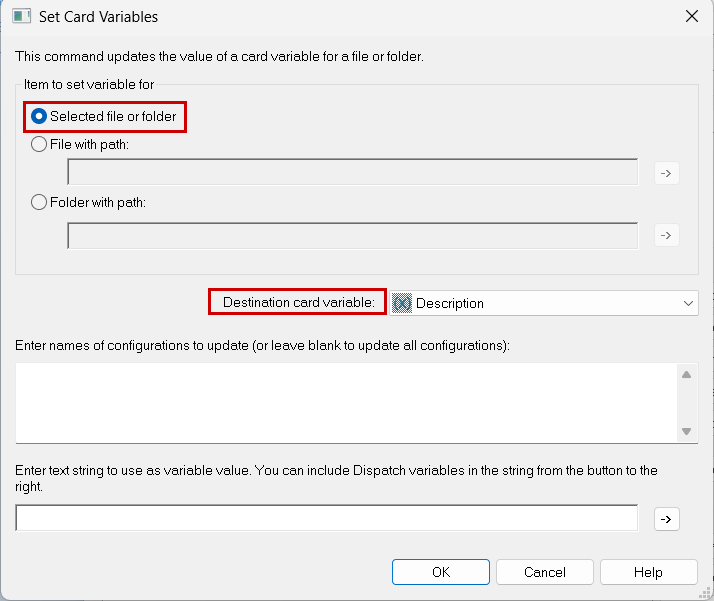
I have selected “Description” because this variable is already included in the data card.
Next, we remap the runtime variable to the corresponding Dispatch variable..
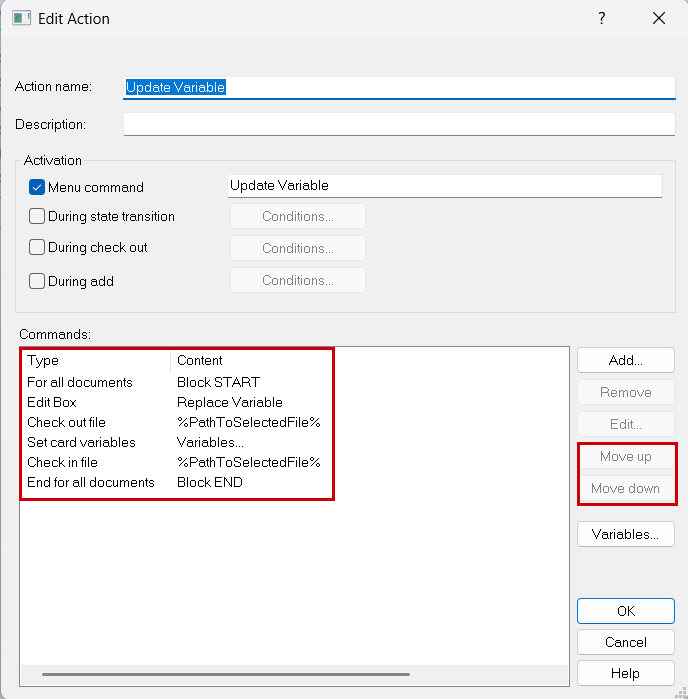
For the final action steps, we rearranged the sequence as shown in the image below:
- For all Documents
- Edit Box
- Check Out File
- Set Variables
- Check In
- End For All Documents
Note: Multiple or bulk file selection allows you to replace or enter the defined values for all selected files at once.